Ok first, for those of you that don't know what Kombucha is... I'm copying this directly from wikipedia:
"Kombucha is a variety of fermented, lightly effervescent sweetened black or green tea drinks that are commonly intended as functional beverages for their supposed health benefits."
In the US Andrew and I LOVED the GT's Kombucha brand. They had some odd/interesting flavors that always made me feel 'healthier'. (ok ok, that may have been all in my mind). But, in Germany... these tasty/magically healthy kombucha brands don't exist! (They do have one or two brands of "kombucha" here, but it basically tastes like bubbly tea).


I had read a lot about 'brewing your own Kombucha'. It always intimidated me. And there was a chance that you could make it, let it ferment for a few weeks and then turn out with something terrible. But oh well! might as well give it a try!
Advantages of making your own Kombucha:
- Good quality store bought Kombucha in the US starts at around $4 and can go up to $10 PER BOTTLE! Making your own is super cheap - its basically tea bags & water!
- Once you buy the starter pack, you can continue to make Kombucha basically forever, as the SCOBY continues to live.
- You can make whatever flavor you want.
STEP 1: MAKING THE KOMBUCHA TEA
I read quite a few different websites, and I found that this website "cultures for health" explained it the best (and had a video which helped!). So instead of me writing down the detailed instructions, I recommend you follow their website as they are the experts!
As I was starting completely from scratch, I bought a Kombucha making starter pack on Amazon as it was easier to just get everything that way.

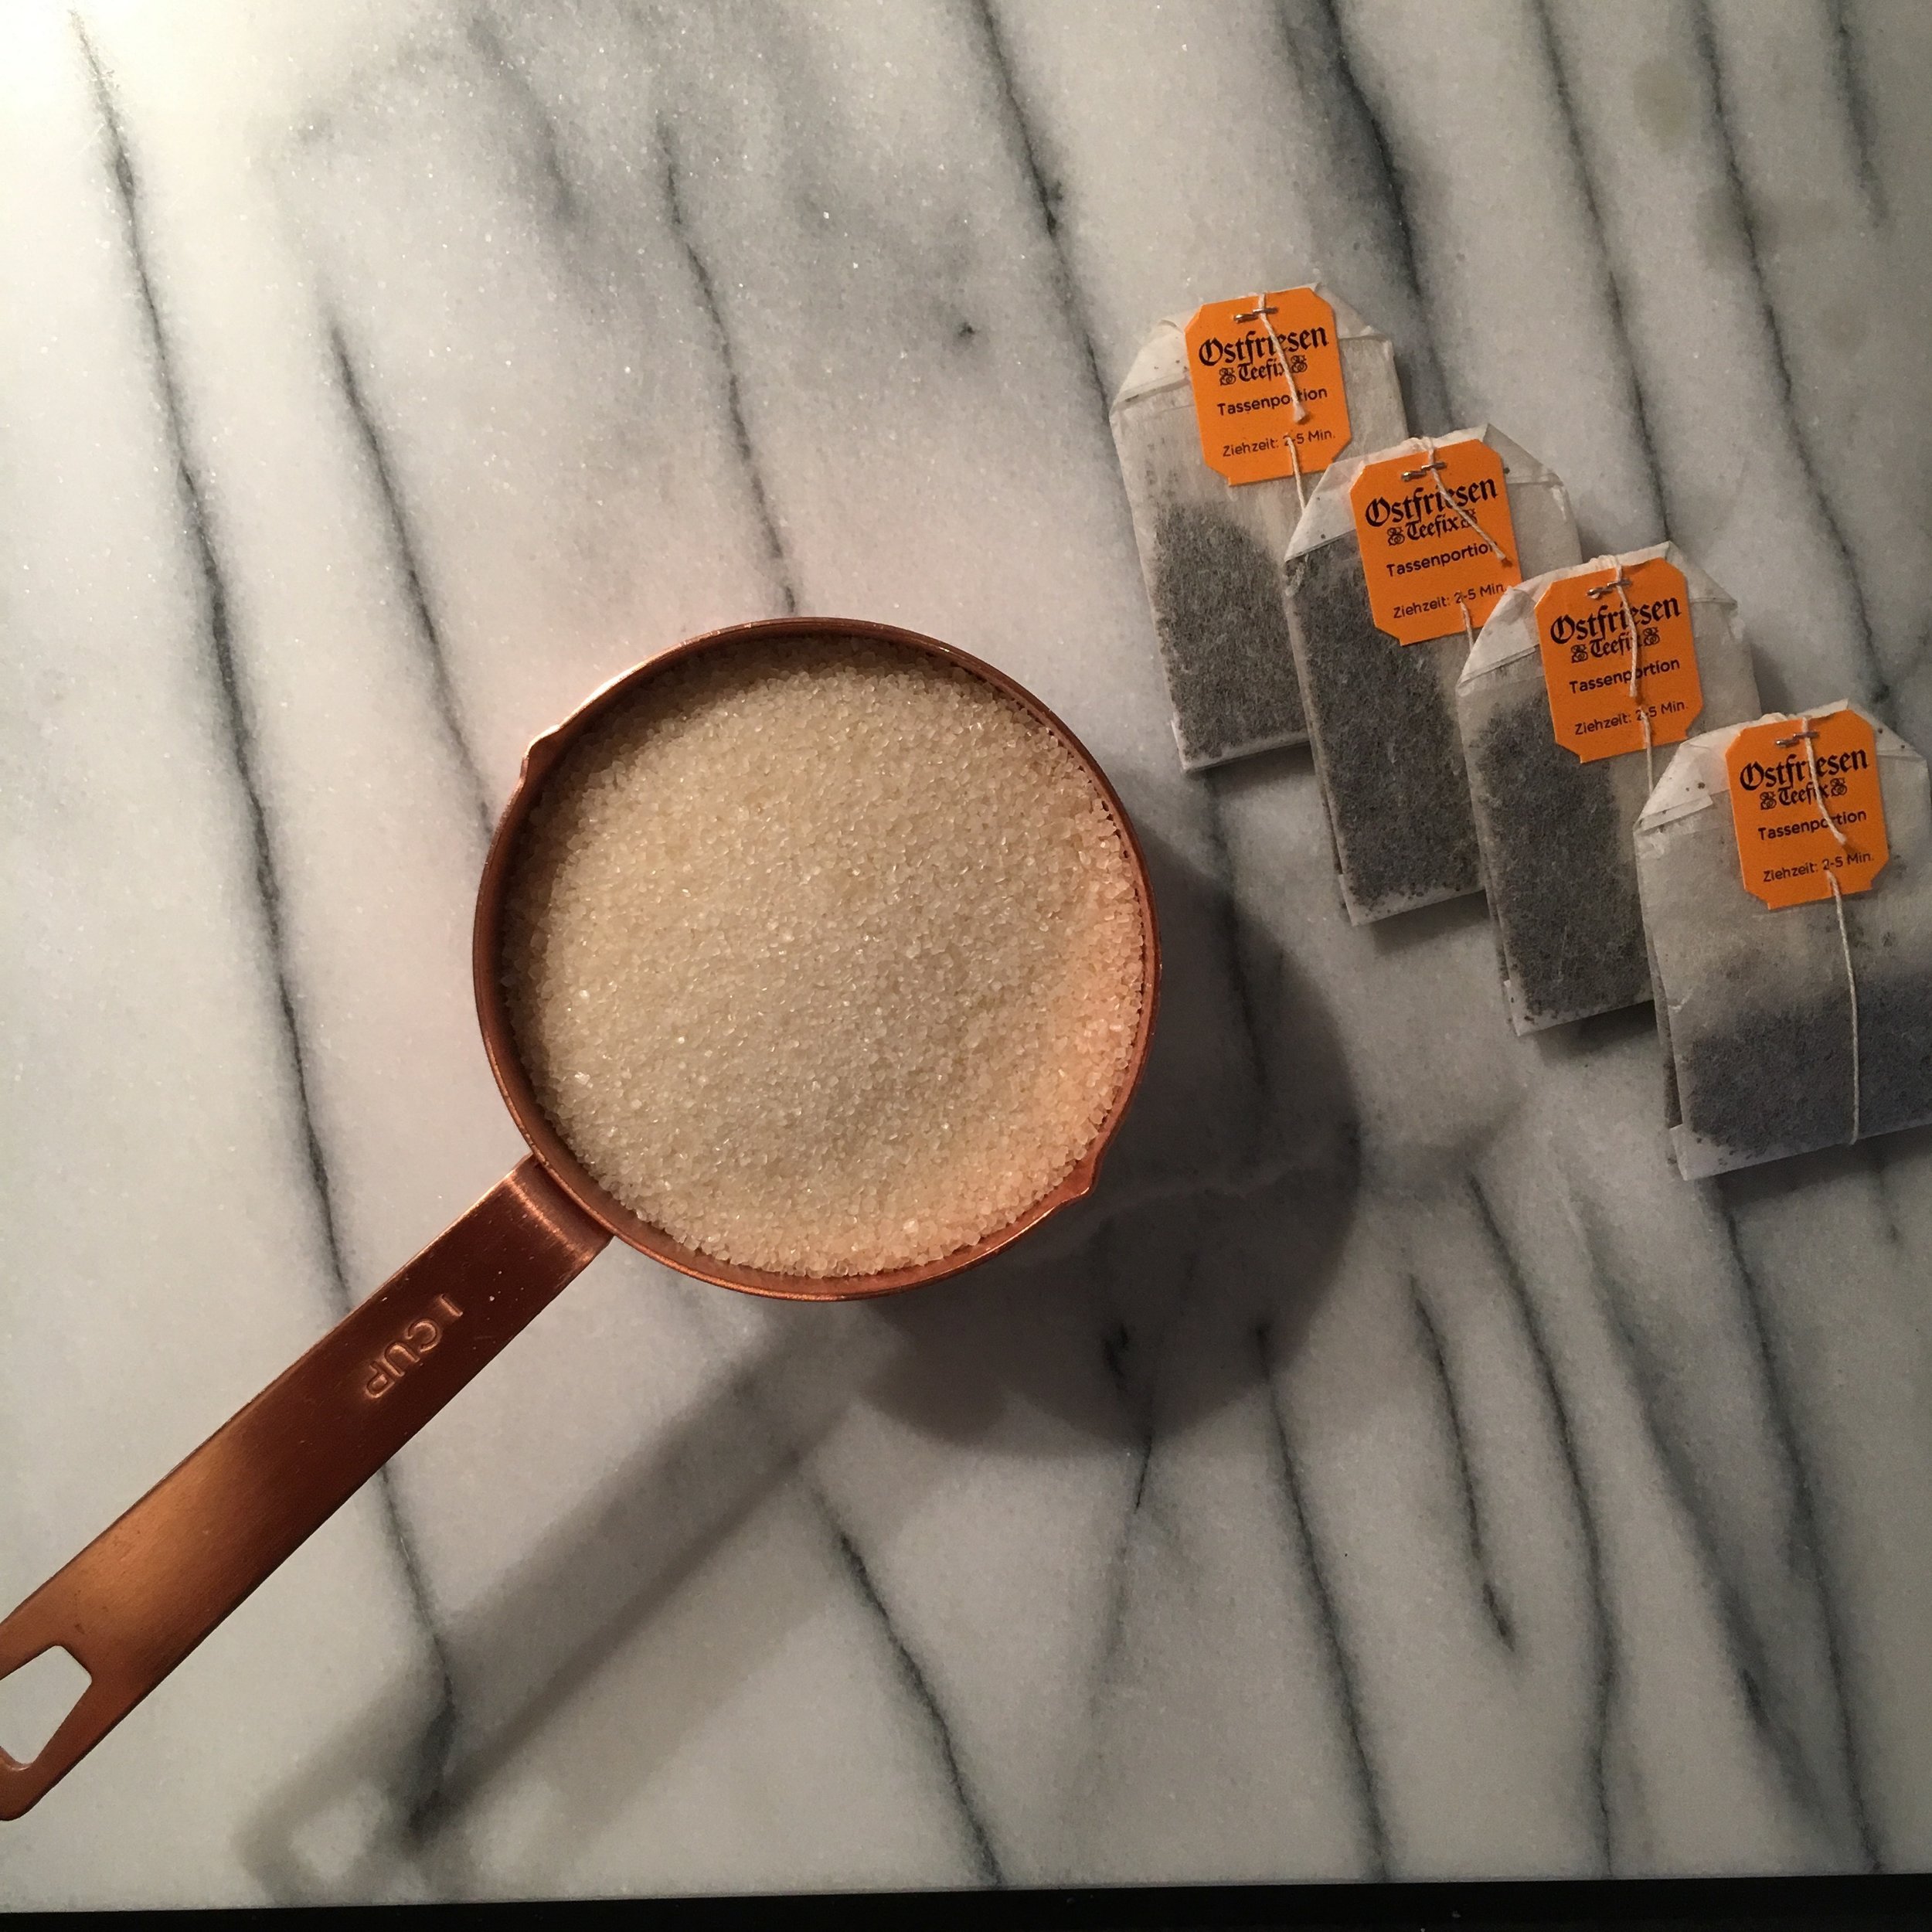
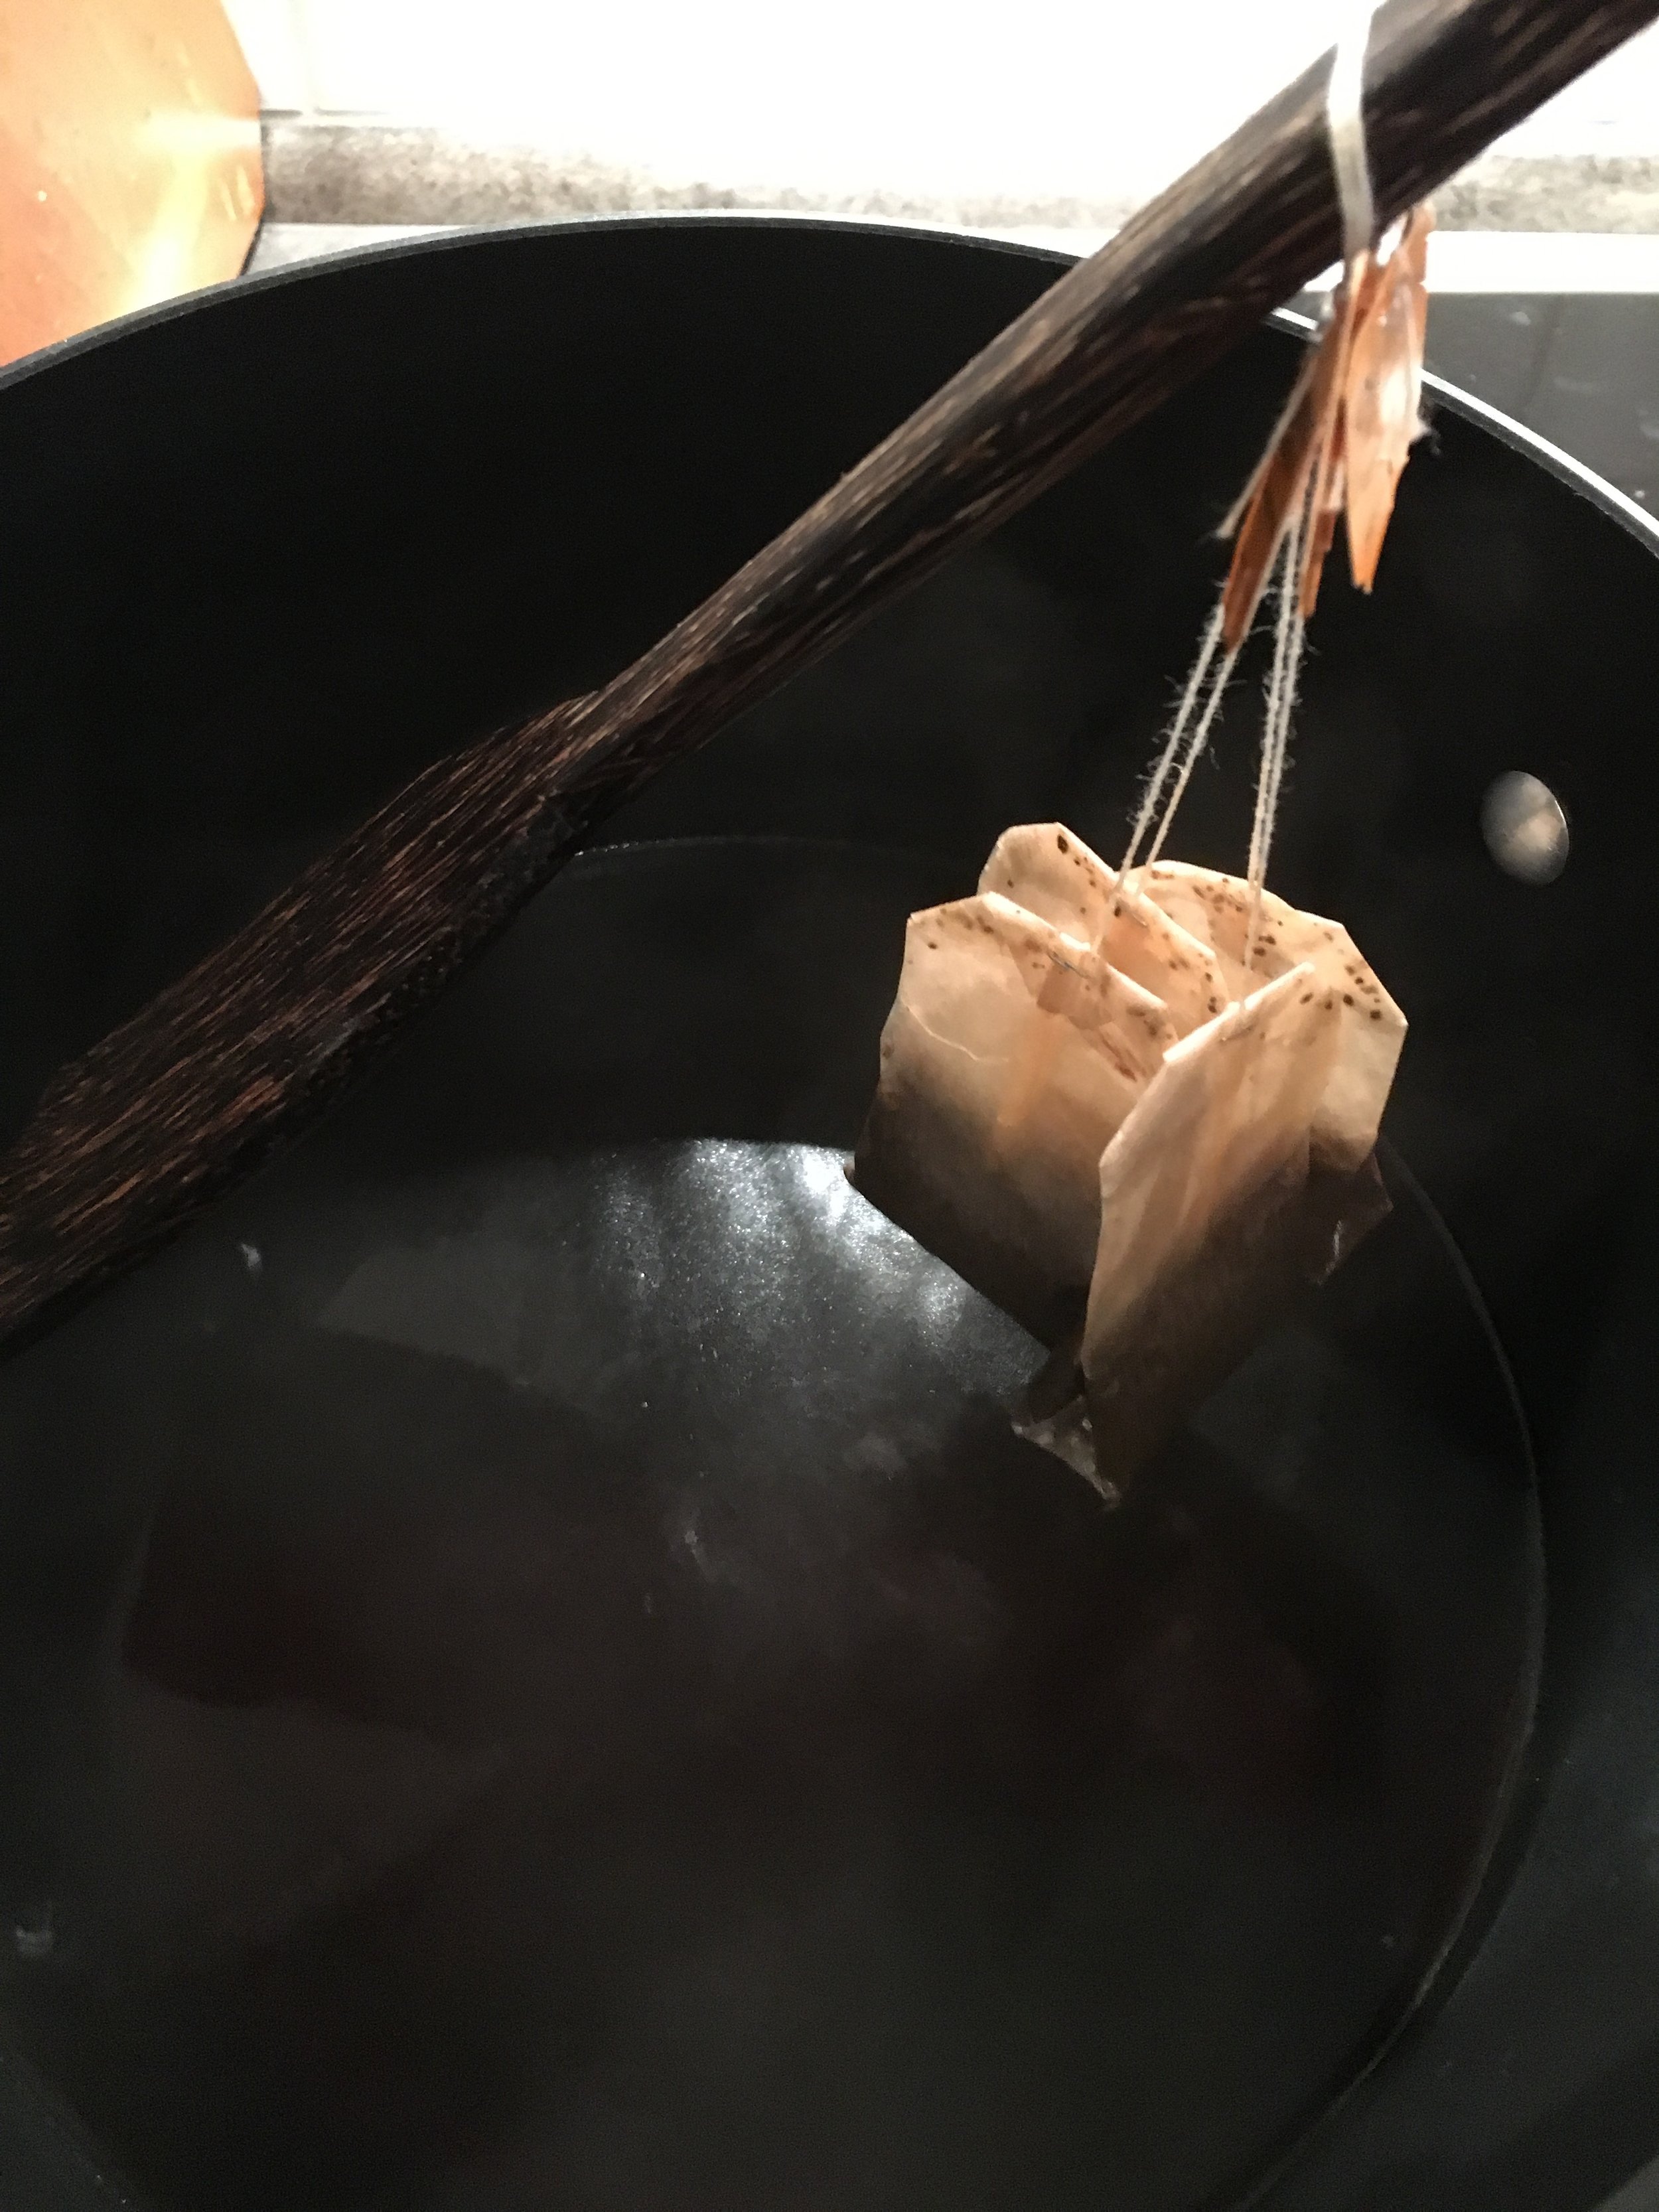
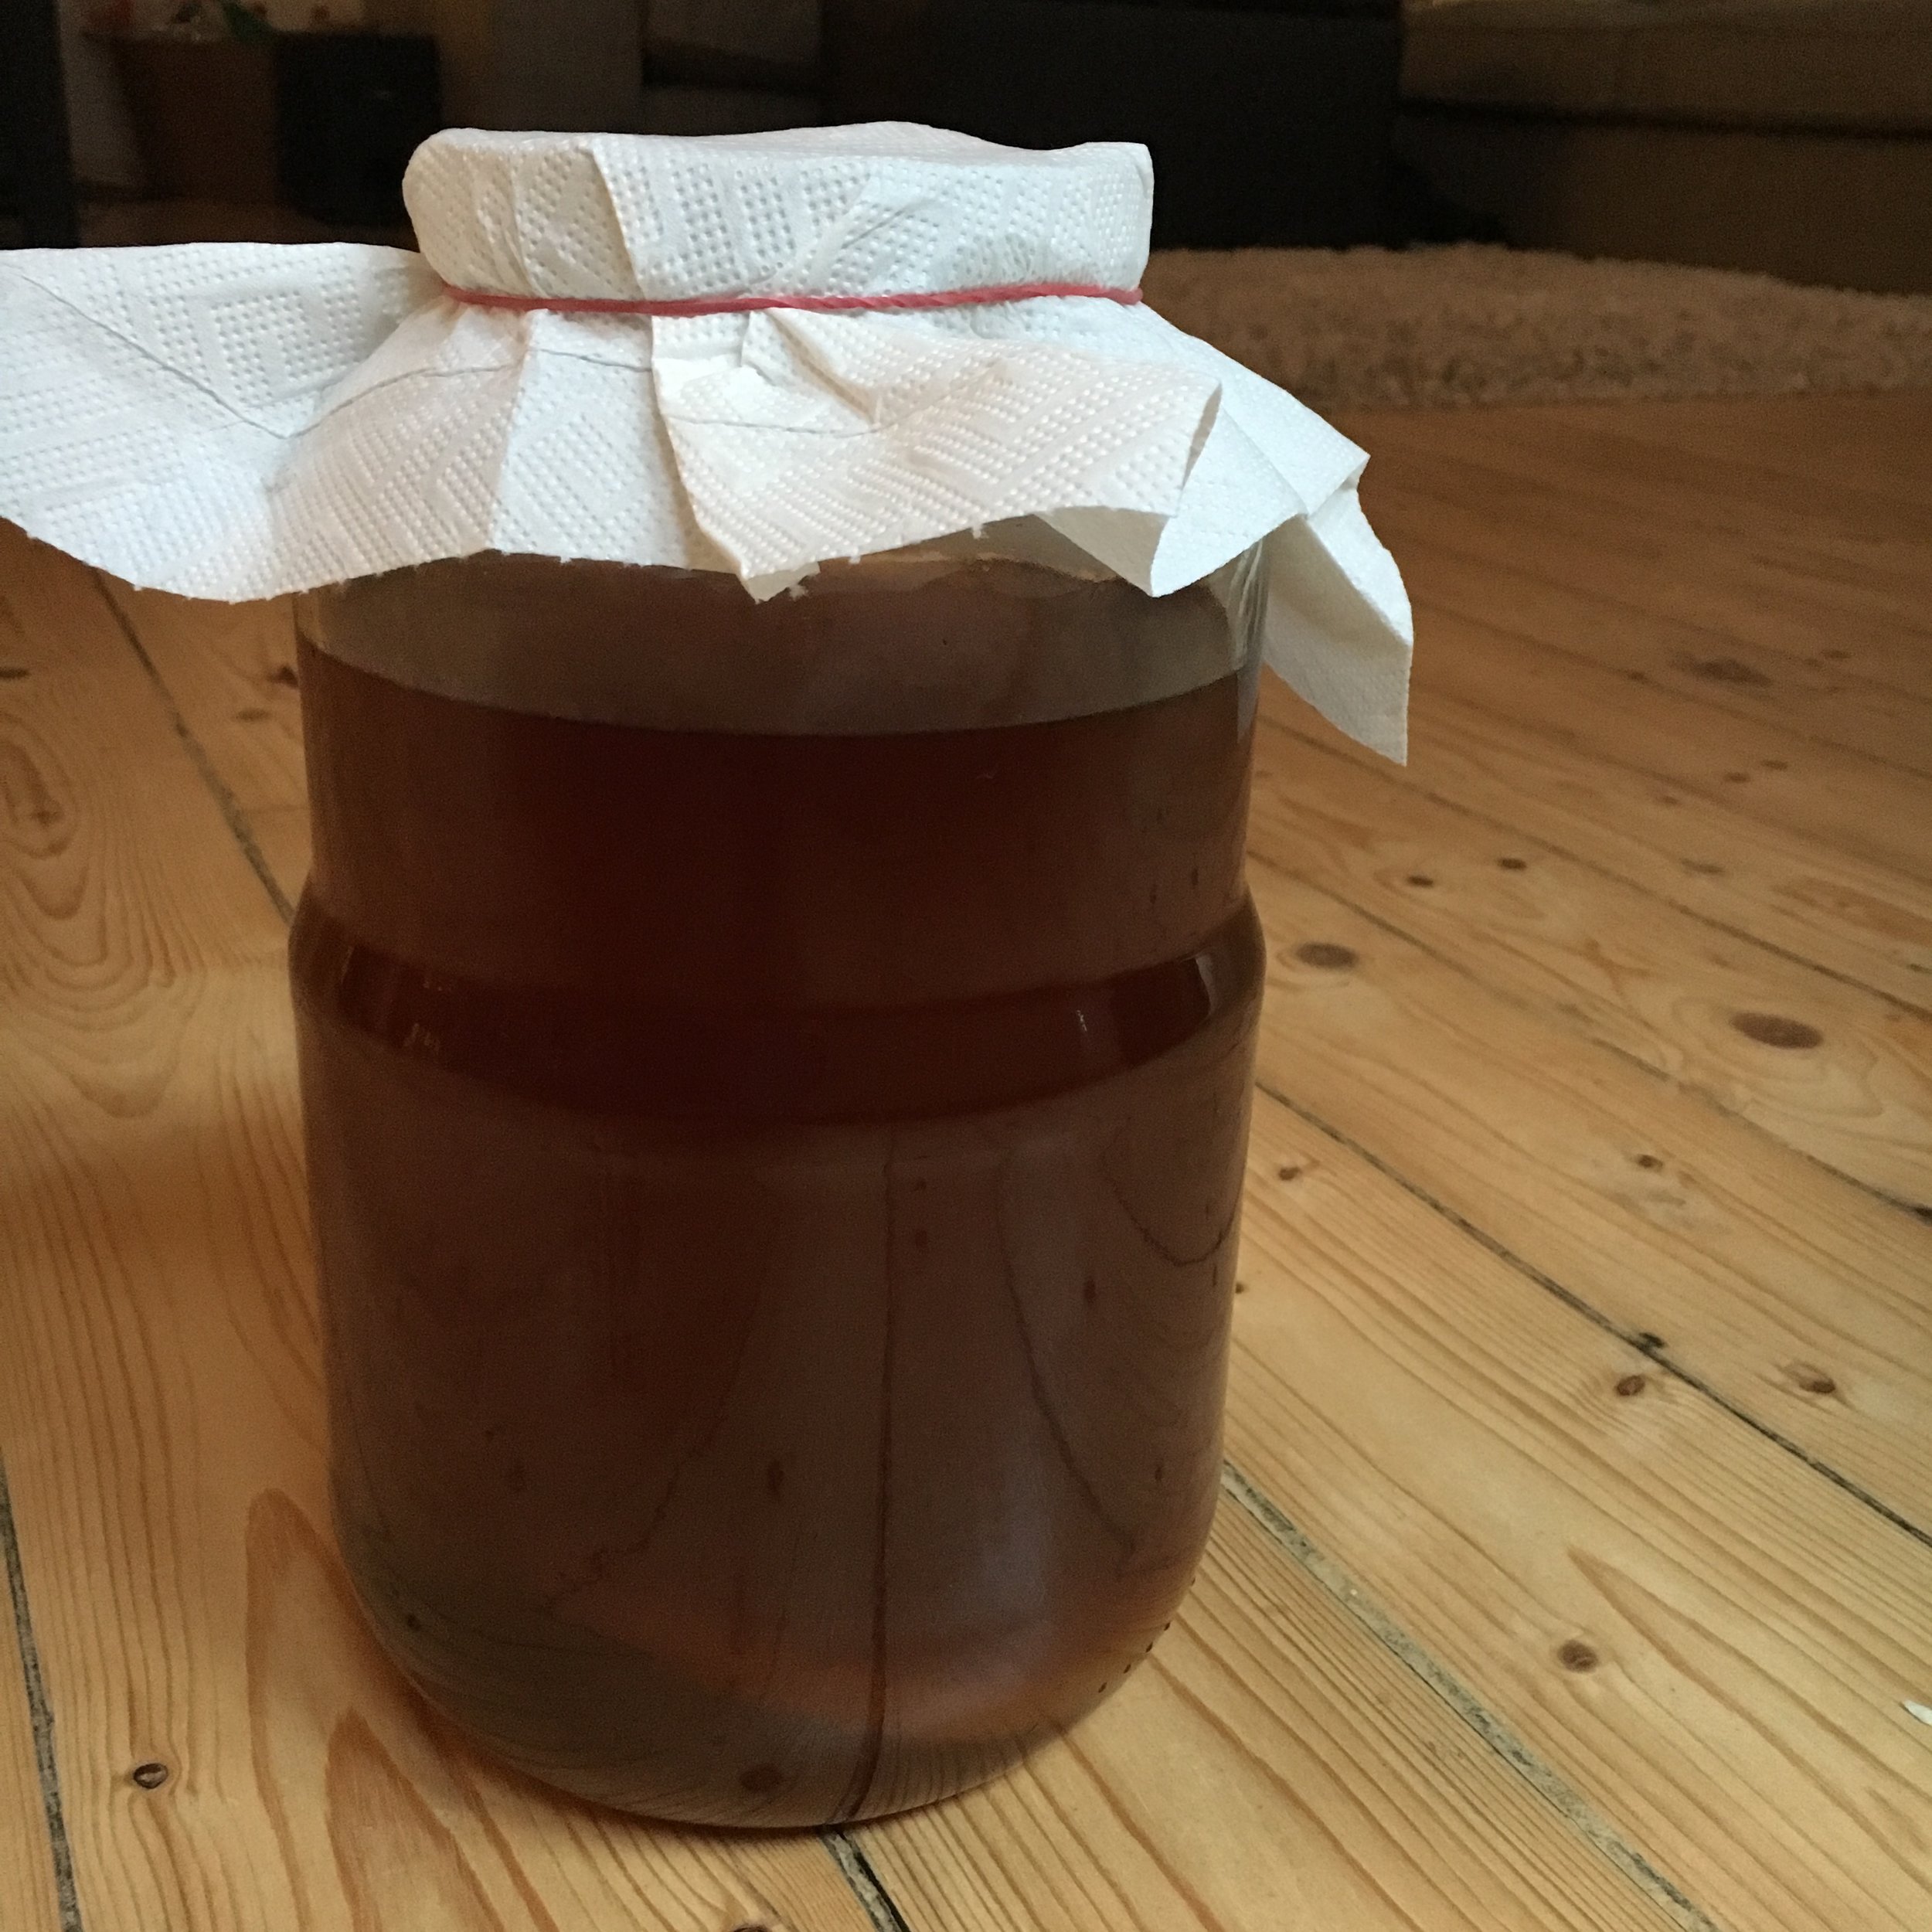
Making the actual Kombucha tea is SUPER easy! Basically make a big batch of black tea in sugar water. While the tea cools, pour the little "SCOBY" in the bottom of your jar with some kombucha starter liquid. Then add in the cooled tea in the jar, cover with a breathable cover - aka a paper towel (its just to keep bugs out). And then let it sit!

... Be patient and let it do its work...
It could take from 7 - 30 days to ferment, depending on two things:
- The heat/humidity (the colder it is, the longer it will take to ferment)
- How sweet/acidic you want it to taste. (The longer it ferments, the less sweet and more acidic it will taste)
Every week or so, do a little taste test to see how its doing.
STEP 2: THE FLAVORING PROCESS

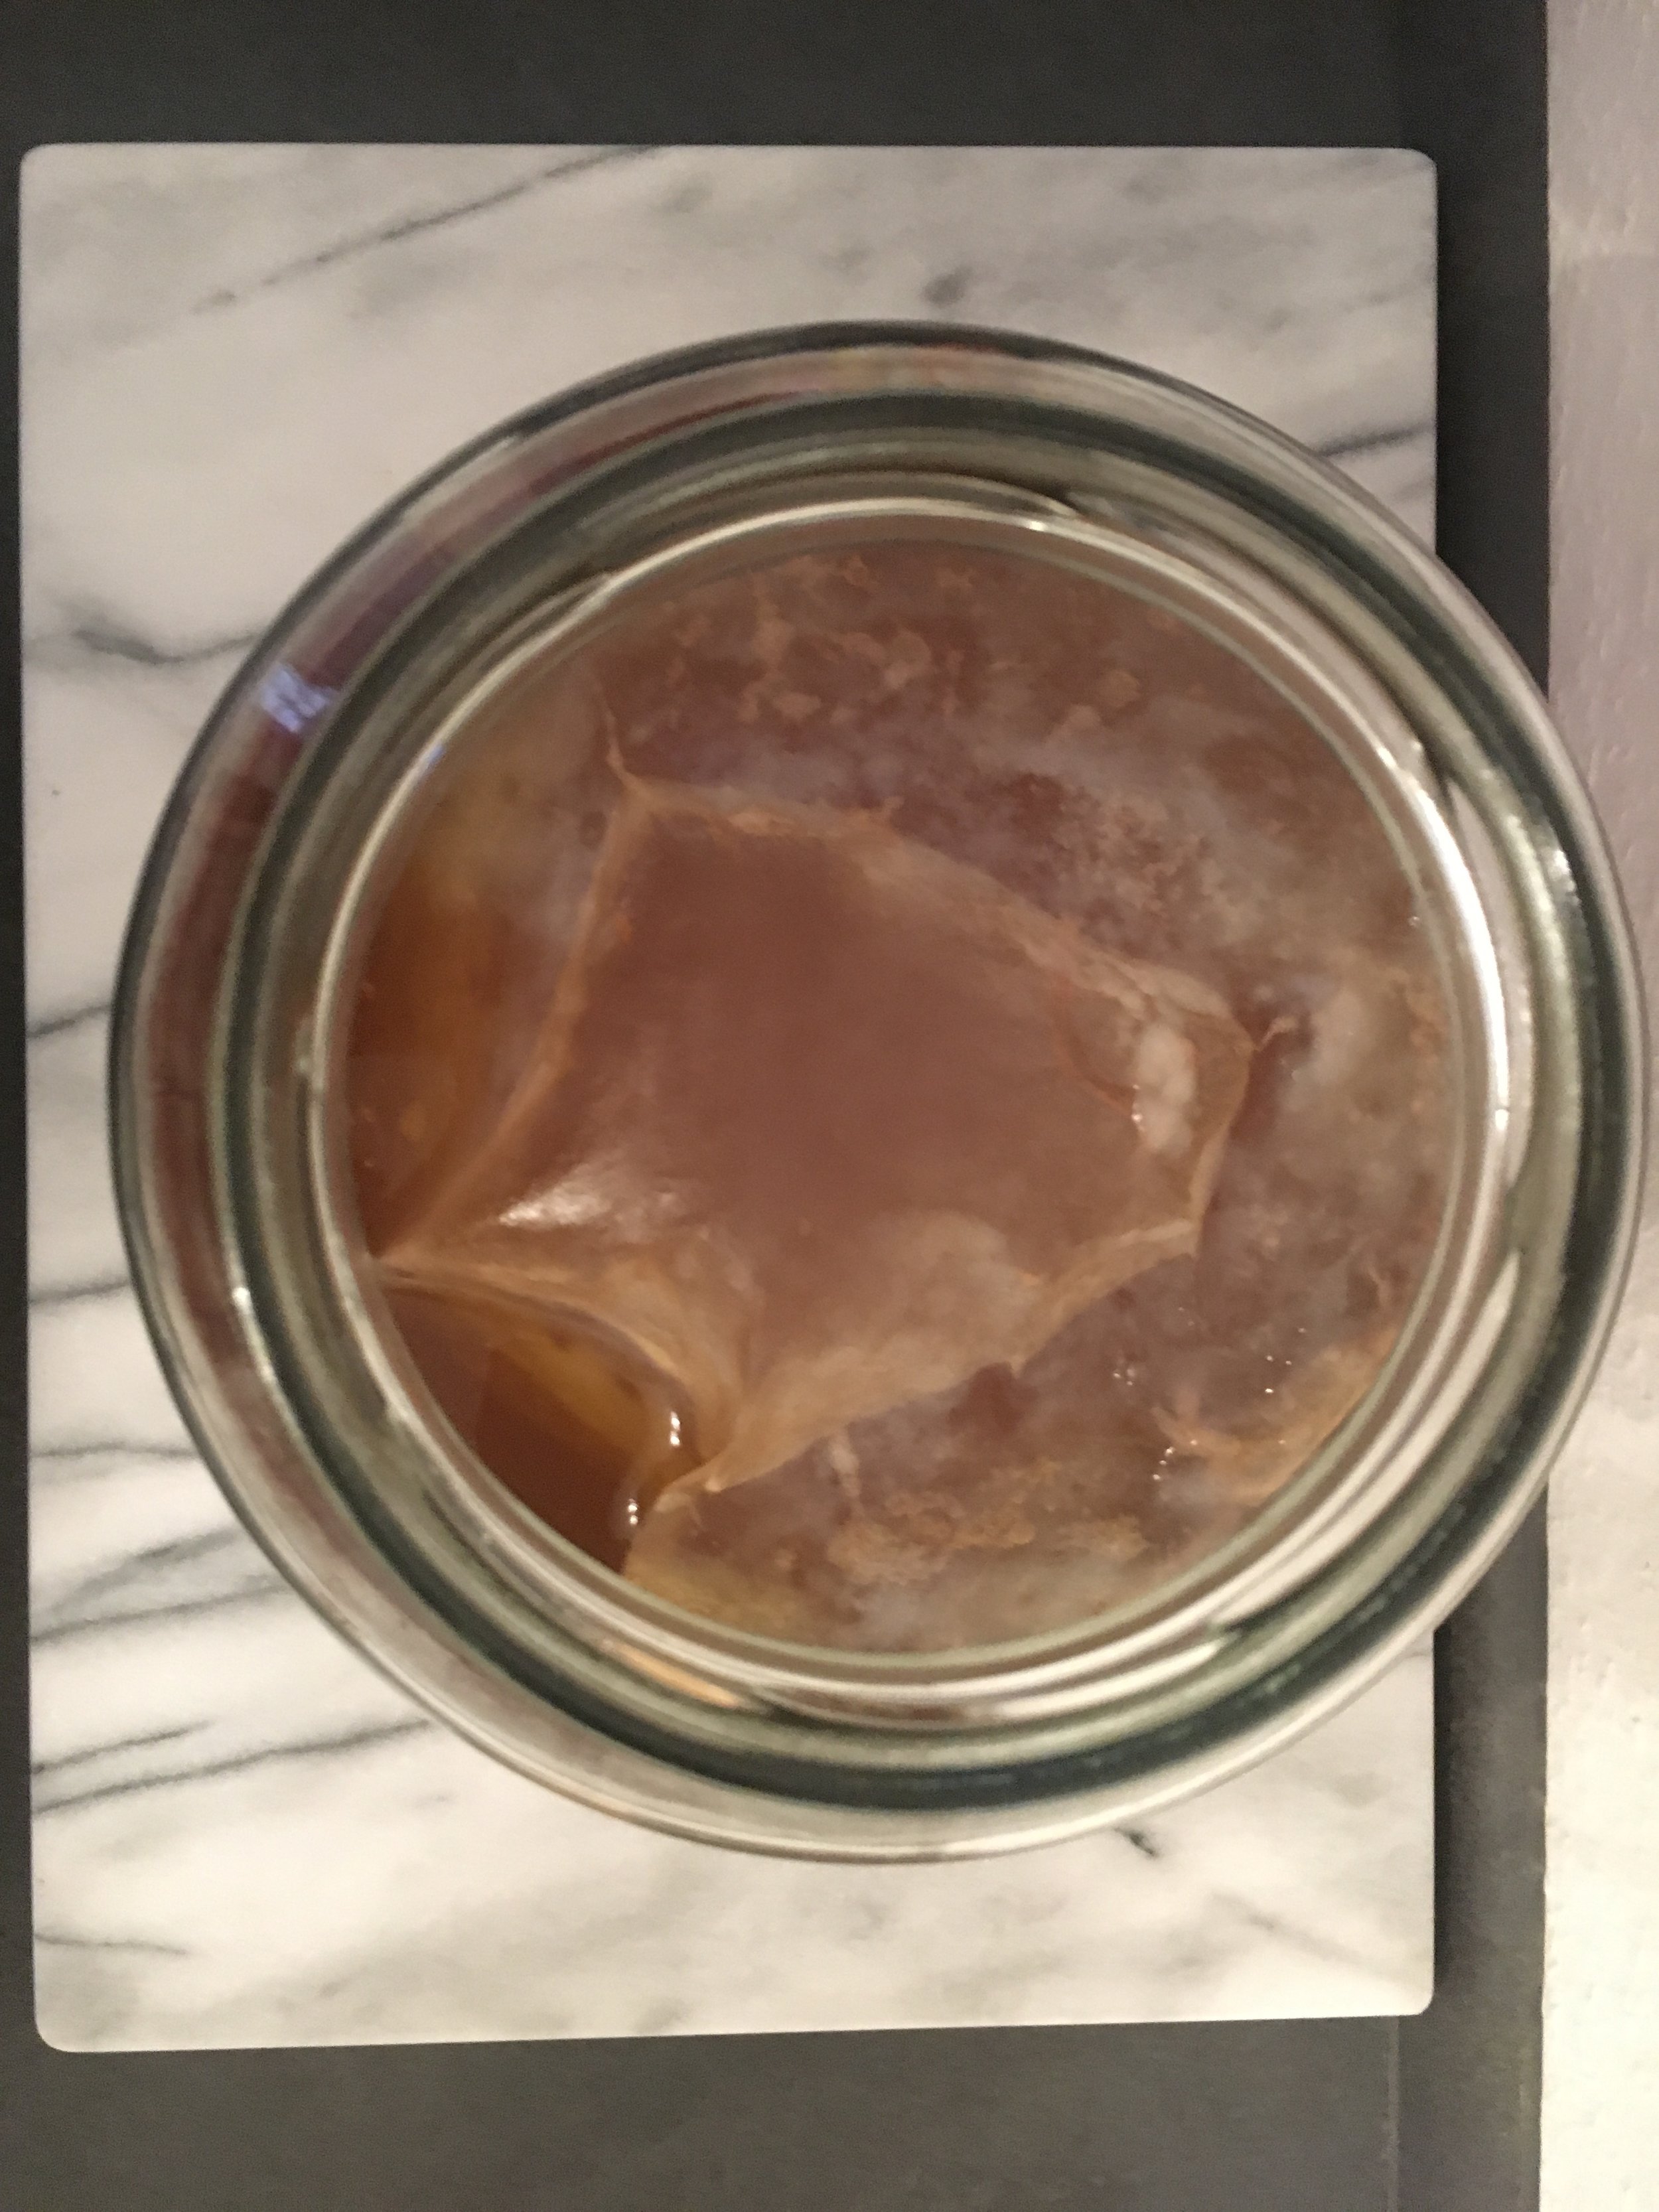
After the tea is fermented to your liking (I know, it looks gross)... its time for the second fermentation process & the flavoring!
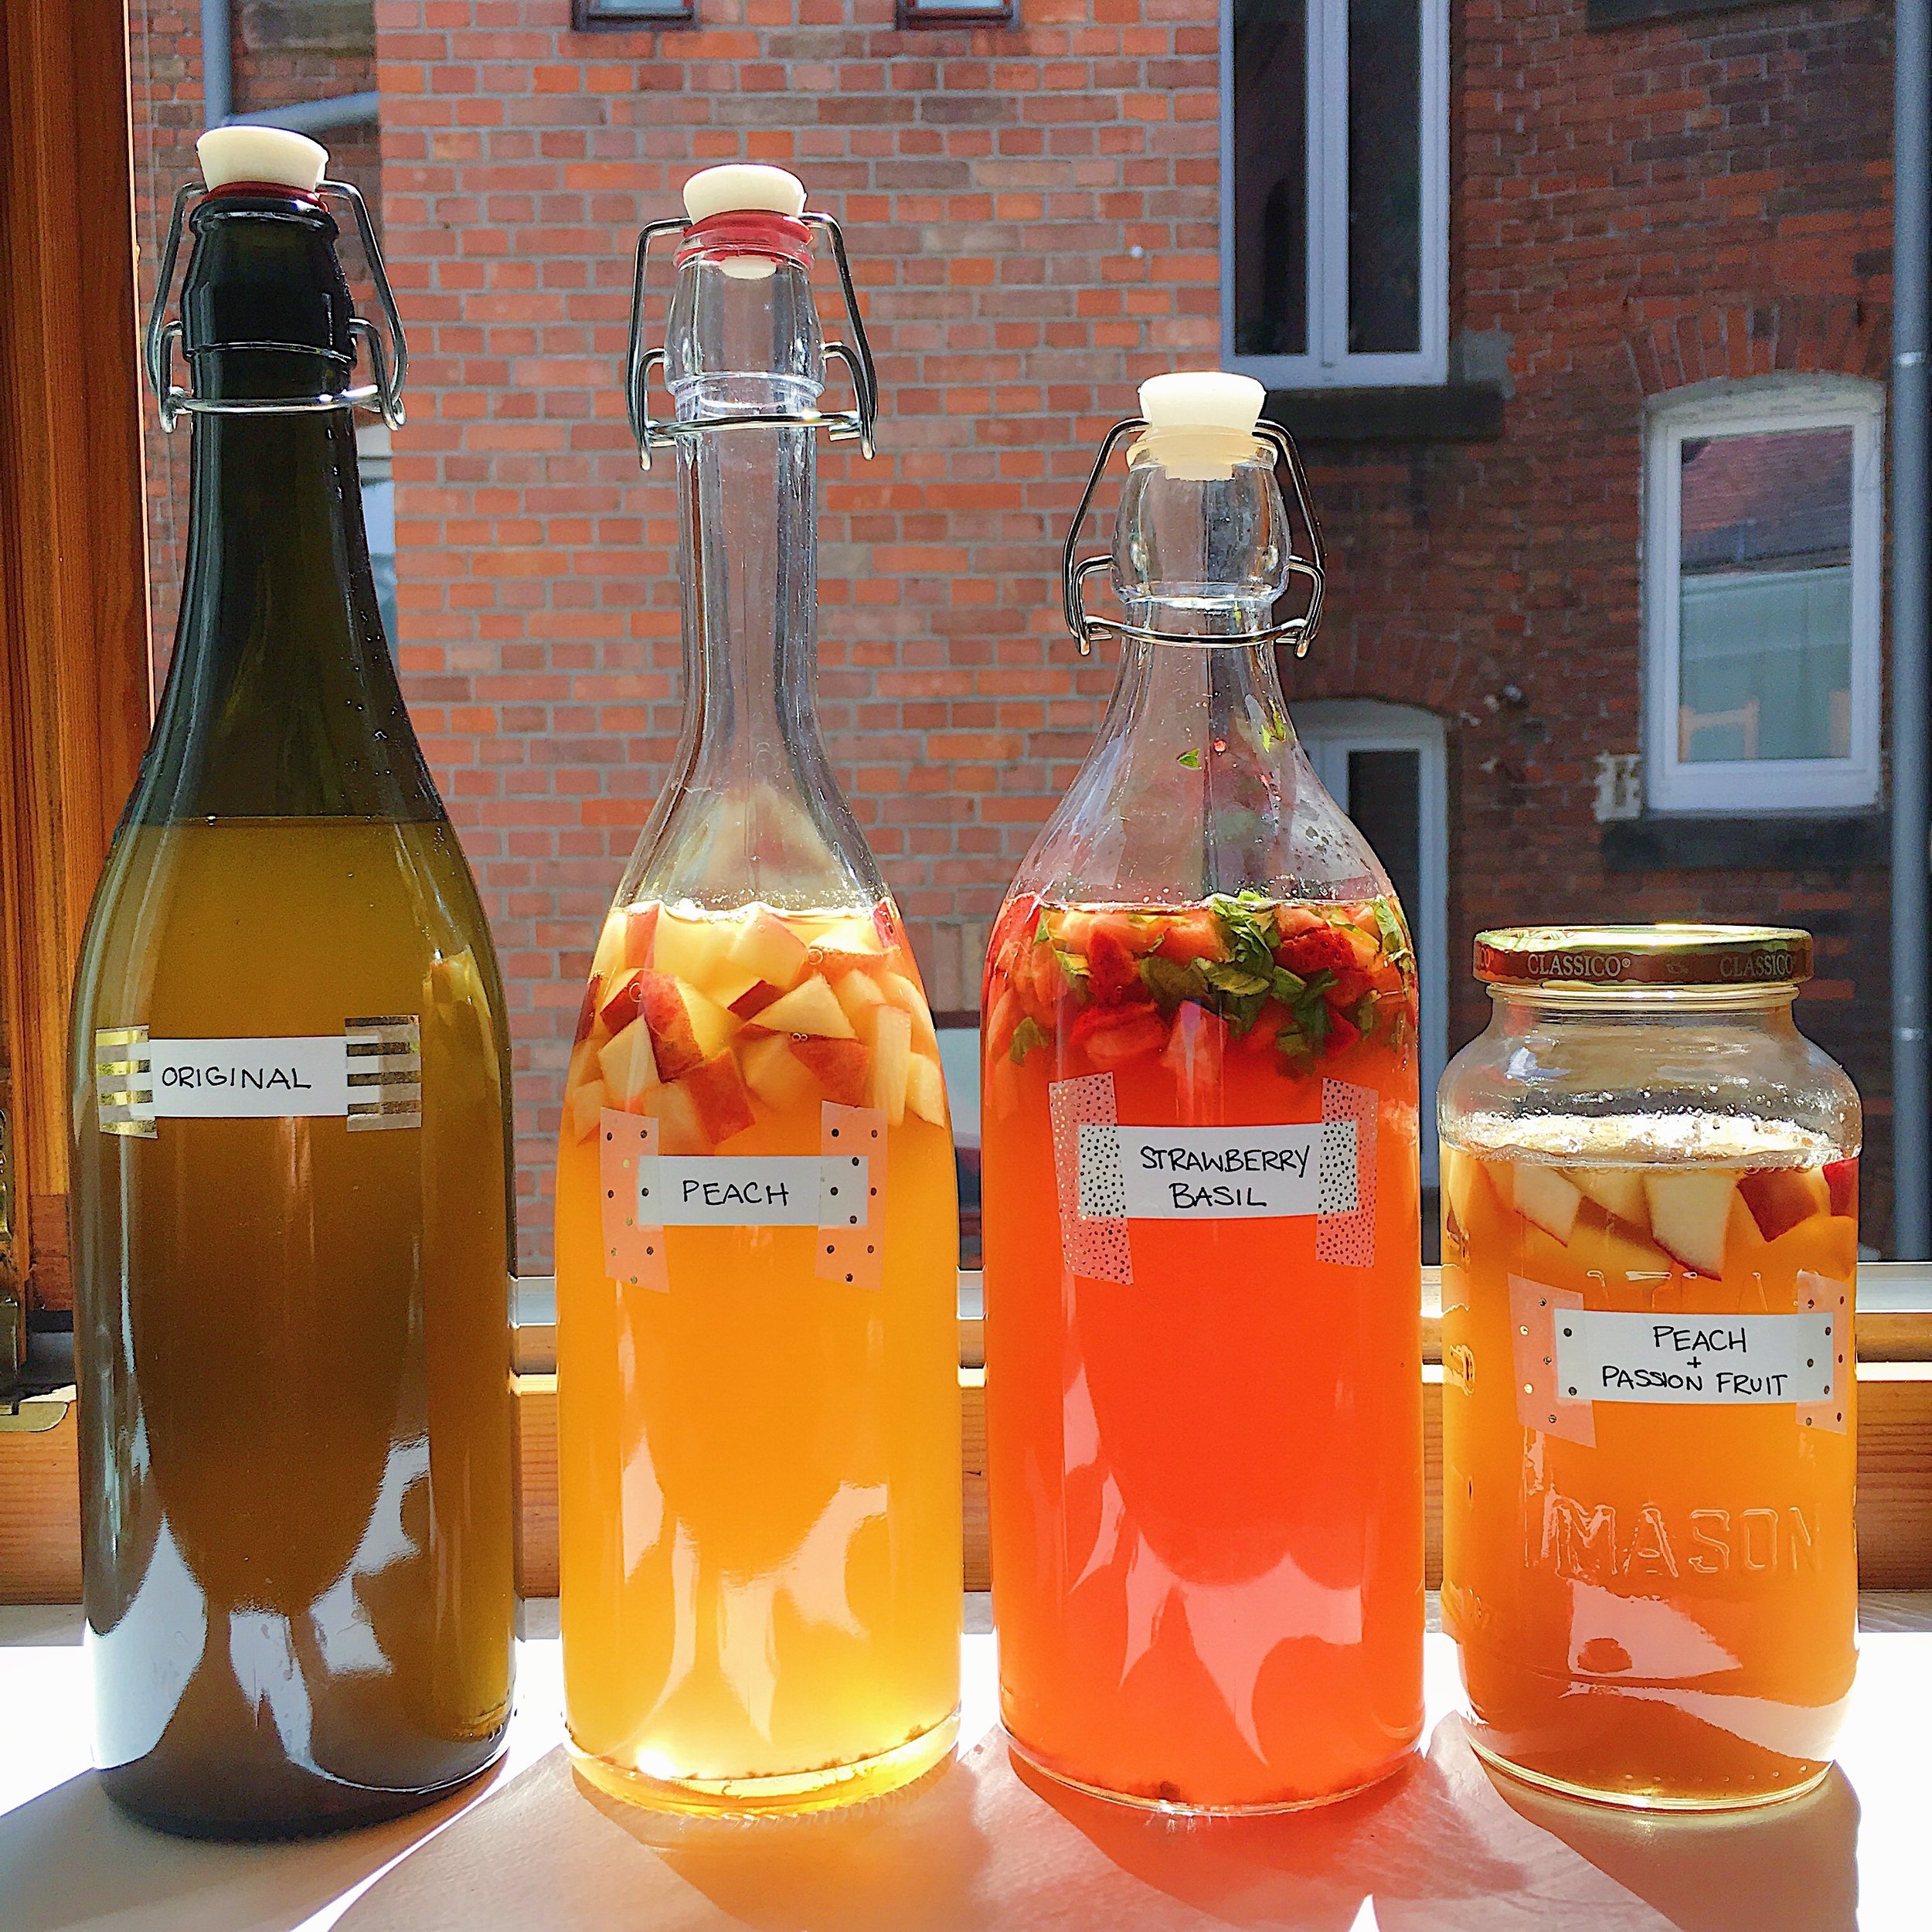
This is the fun part. I always like to have one 'plain' flavor, and then experiment with the others. You should ideally use a glass bottle that has a pop top (like below). But i've also just used glass mason jars and they've worked fine (you just loose a bit of the bubbles).


FLAVORINGS THAT I'VE TRIED:
APPLE SPICE: Chopped green apples, cinnamon sticks & star anise
BLUEBERRY GINGER: Frozen blueberries (you can of course use fresh) & chopped ginger.
- LEMON GINGER: Lemon slices & chopped ginger
- STRAWBERRY BASIL: Fresh or frozen strawberries chopped up & fresh basil
- STRAWBERRY VANILLA BEAN: Fresh or frozen strawberries chopped up & a whole vanilla bean.
- PEACH: 1/2 fresh peach chopped up (i had wanted to make Peach & Mint, but didn't have mint, so i recommend trying that!)
- PEACH & PASSION FRUIT: 1/2 fresh peach chopped up + 1/4 cup passion fruit nectar. I had always read that you could add juices to your kombucha, so this was my first attempt!

The flavoring process is easy: see this website for more detailed instructions.
- Chop up whatever you want to add in (or you can also use juice to flavor) and then add in your kombucha mixture. Be sure to leave a bit of room at the top of your bottle.
- Also - be sure to save your SCOBY with about a cup of your new kombucha mixture (I keep it in a small glass container in my fridge), to use for your next kombucha brewing!
- Leave the new flavored kombucha in the jars in room temperature for 1-2 more days for the second fermentation process. (depending on how bubbly you like it and the temperature)
- When it tastes to your liking, put it in the fridge (which slows down the fermentation process) and then enjoy!
Some tips from the Newby Kitchen:
- Write down everything you do. The ingredients, how long you let it ferment for, etc. Our second round of Kombucha brewing Andrew LOVED the plain version much more than our first brew. BUT... I had no idea why it turned out differently!
- Right after you finish one round, start the next brewing process right away. We always forget to do this, and when we are finishing our tasty homemade kombucha, we realize we will have to wait at least another 2 weeks for our next batch.

RELATED POSTS

INSTAGRAM: @MNEWBY14